Custom Fonts, Reusable Assets and Multiple Images in Templates
During the past few weeks we have slowly been adding feature to the platform. Now it's a good time to tell you about them. We have created three major features, that I will go over one by one. Namely: Assets, multiple images in a template and the ability to upload and use your own custom fonts. Let's start by taking a look at the assets.
Assets
Usually you want to reuse assets for multiple different designs. This could for instance be your company logo, some graphic of one of your USPs or maybe an image of you Trustpilot stars. It can be tedious to keep reuploading them, so now whenever you upload an image it's saved. You can find all of your assets inside the new Assets button in the left sidebar.
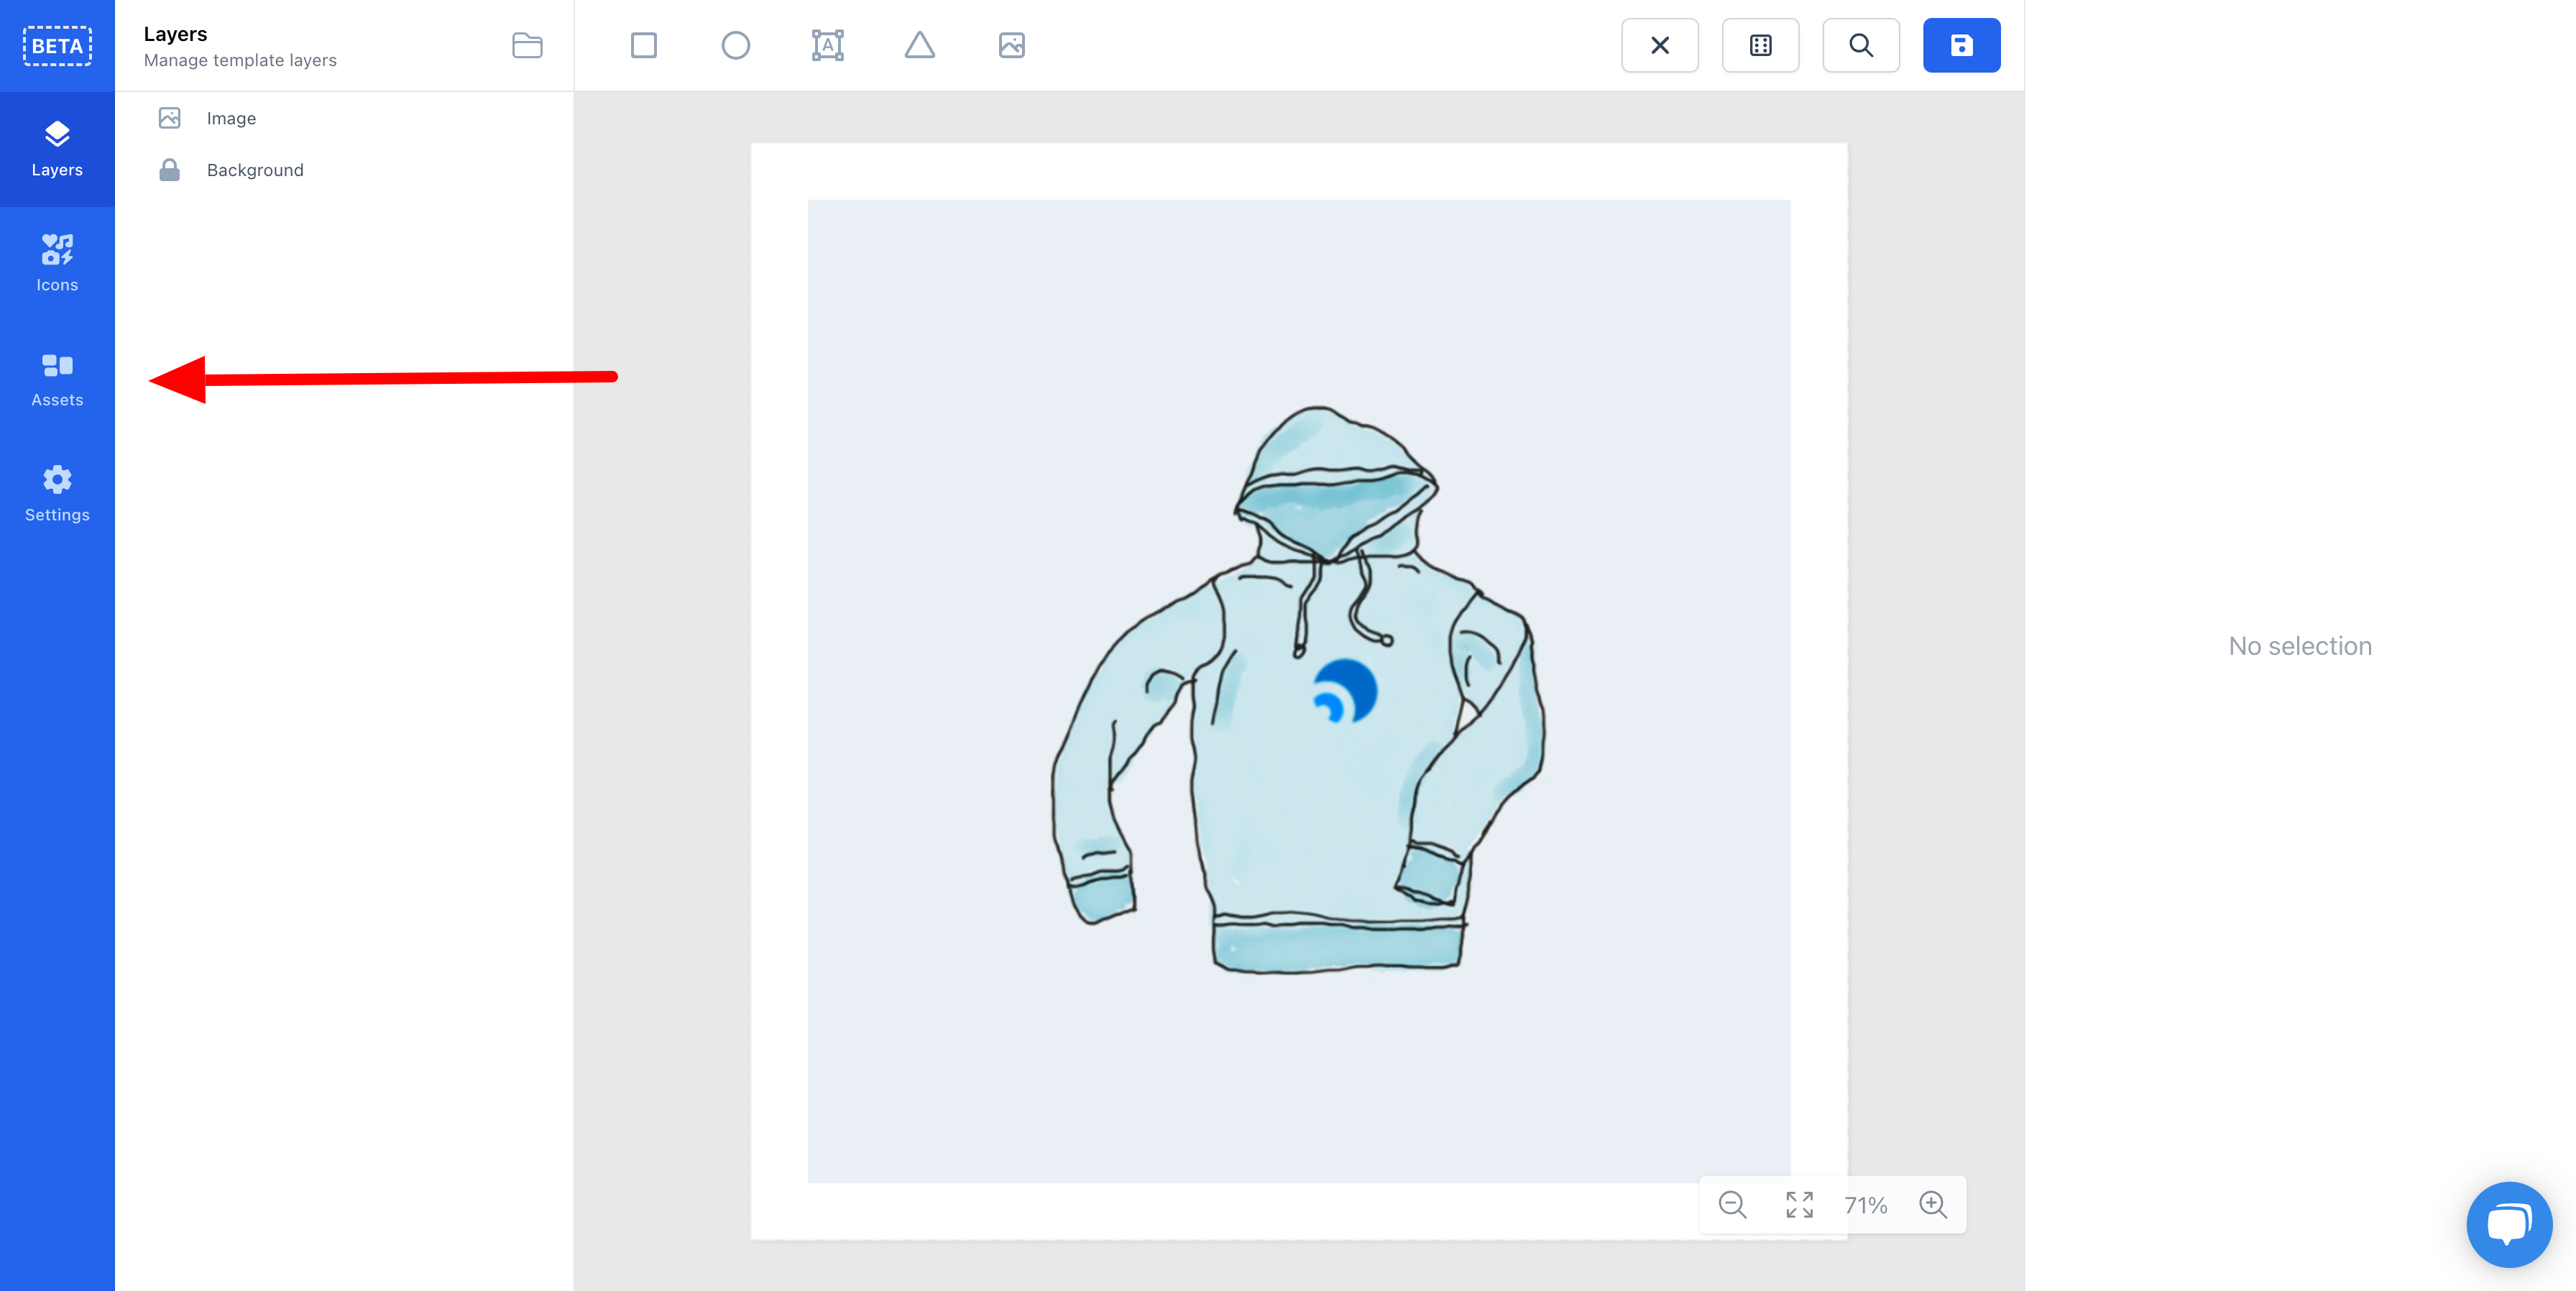
We wanted to extend this idea. Not only should you be able save simple images to your assets. Instead you should be able to save components of design that your regularly use. In layman's terms it means that you can save an entire group into your assets and reuse it later in your other designs.
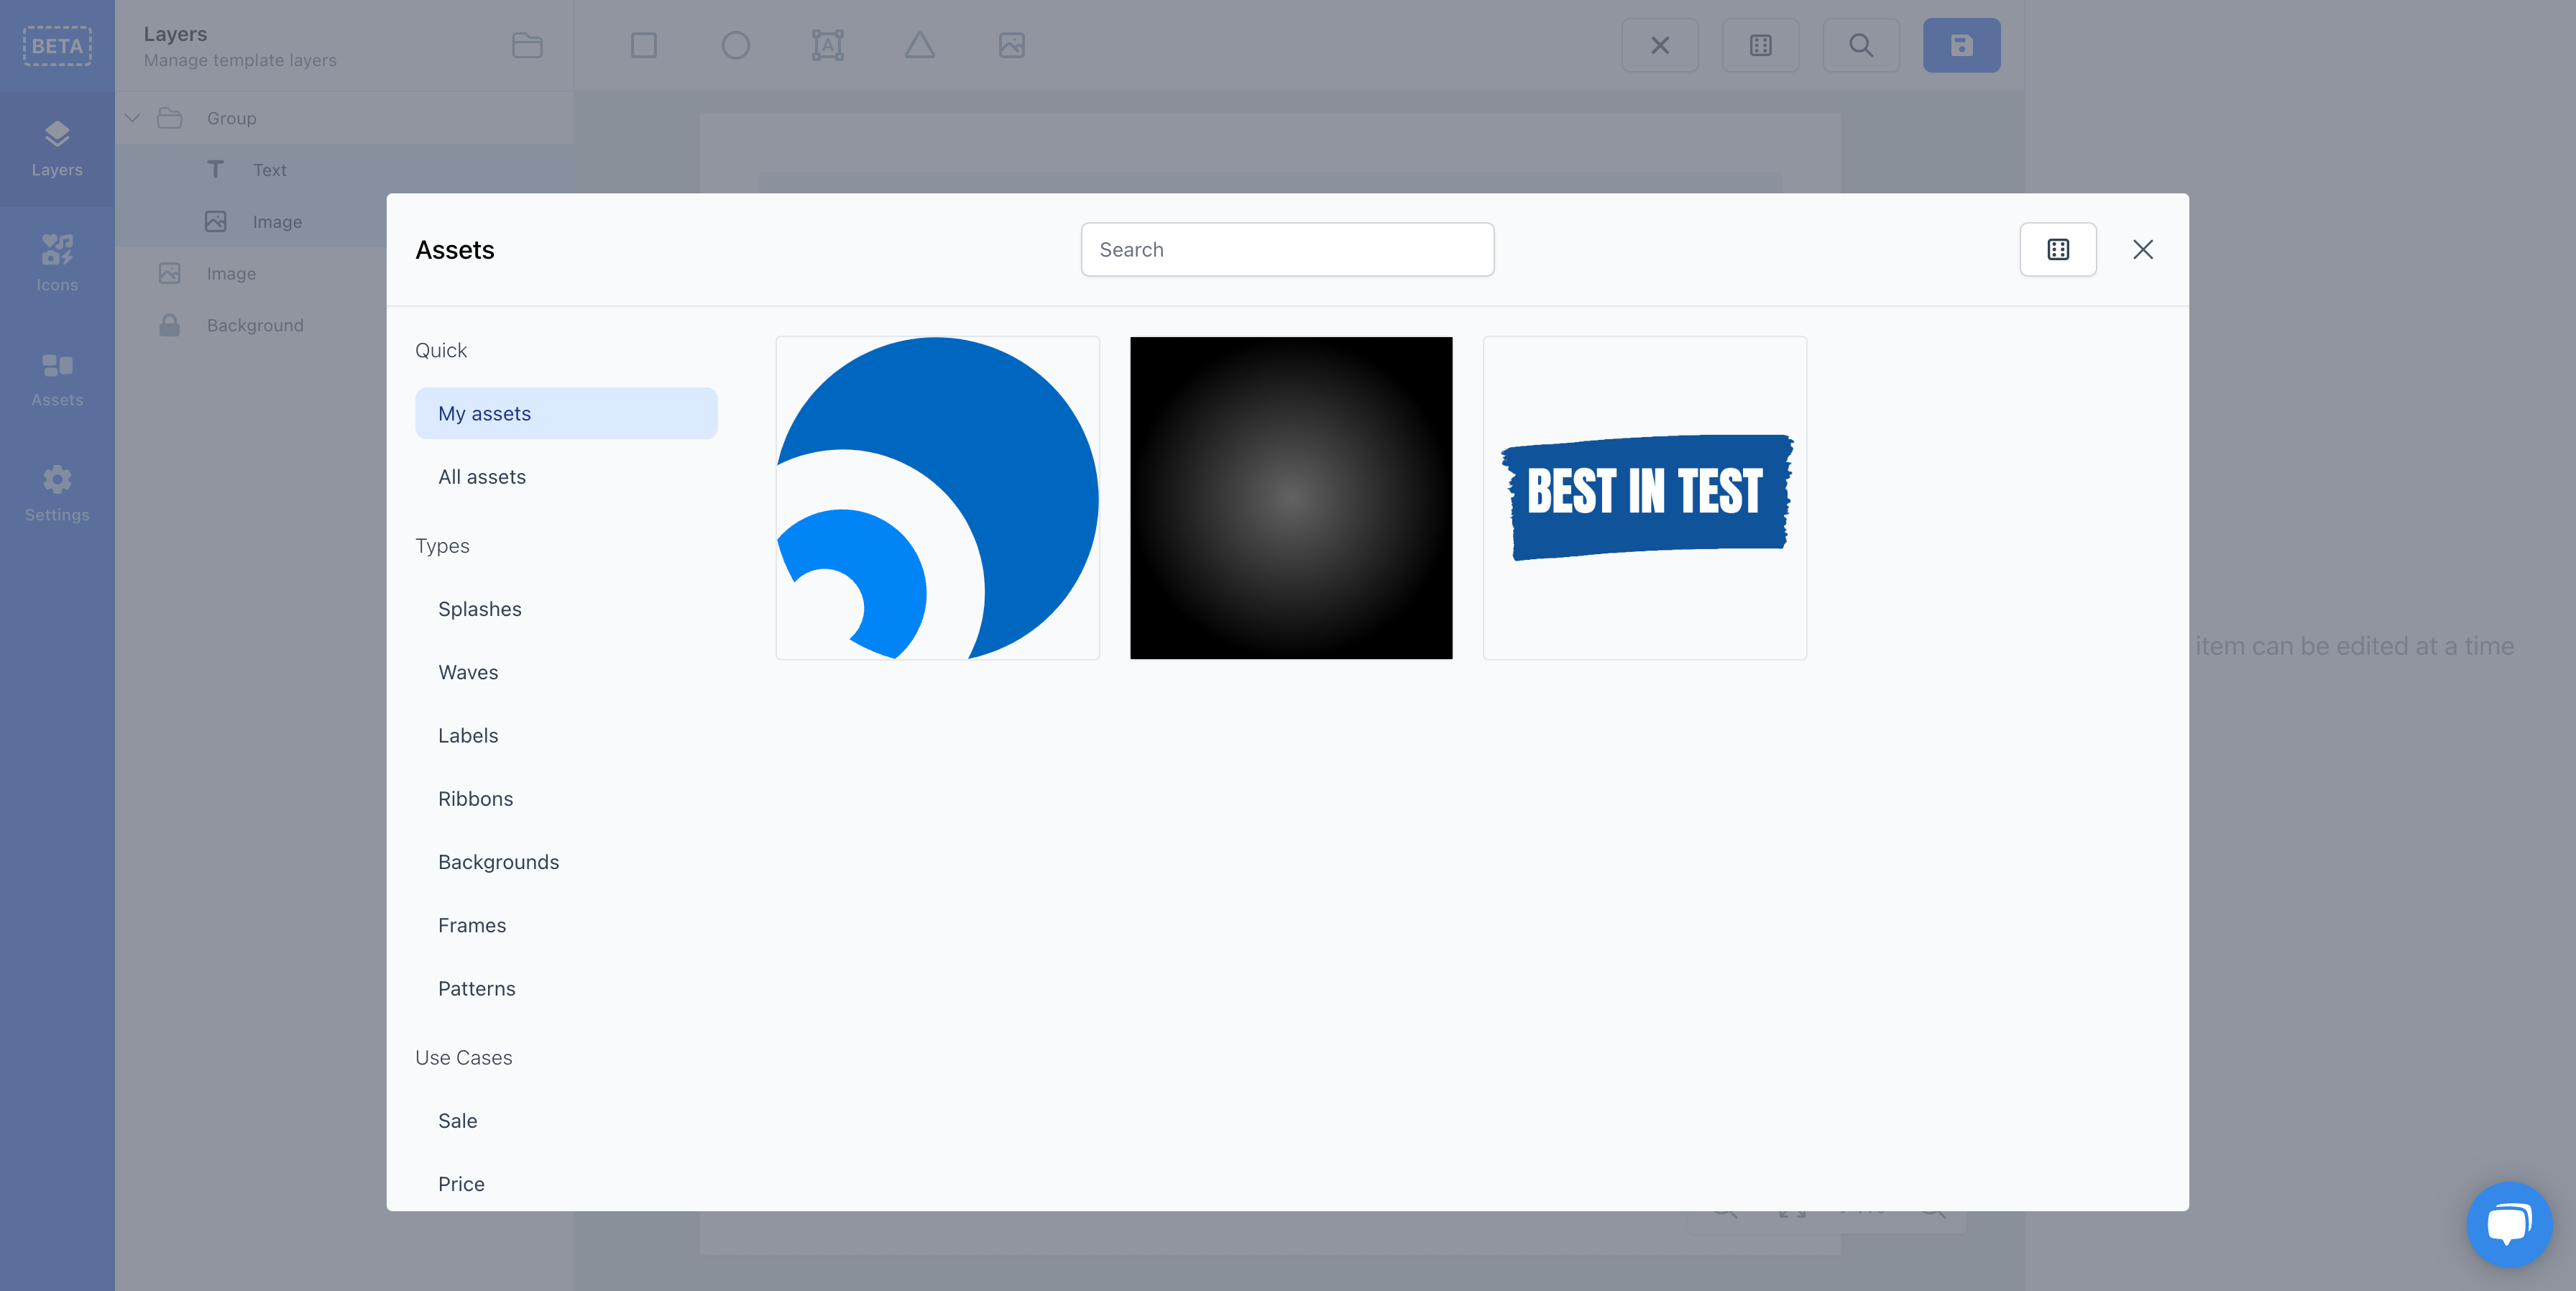
Besides yourself making assets, we are also making them for you! In the sidebar of the modal you see the different categories that we have. We have decided to have split it into Types and Use Cases. Types are primitives that you can use in your templates. These range from Ribbons to Backgrounds. And you shouldn't worry about all the Waves, Ribbons and Labels being black. You can pick whatever color you want after you have added it to the template.
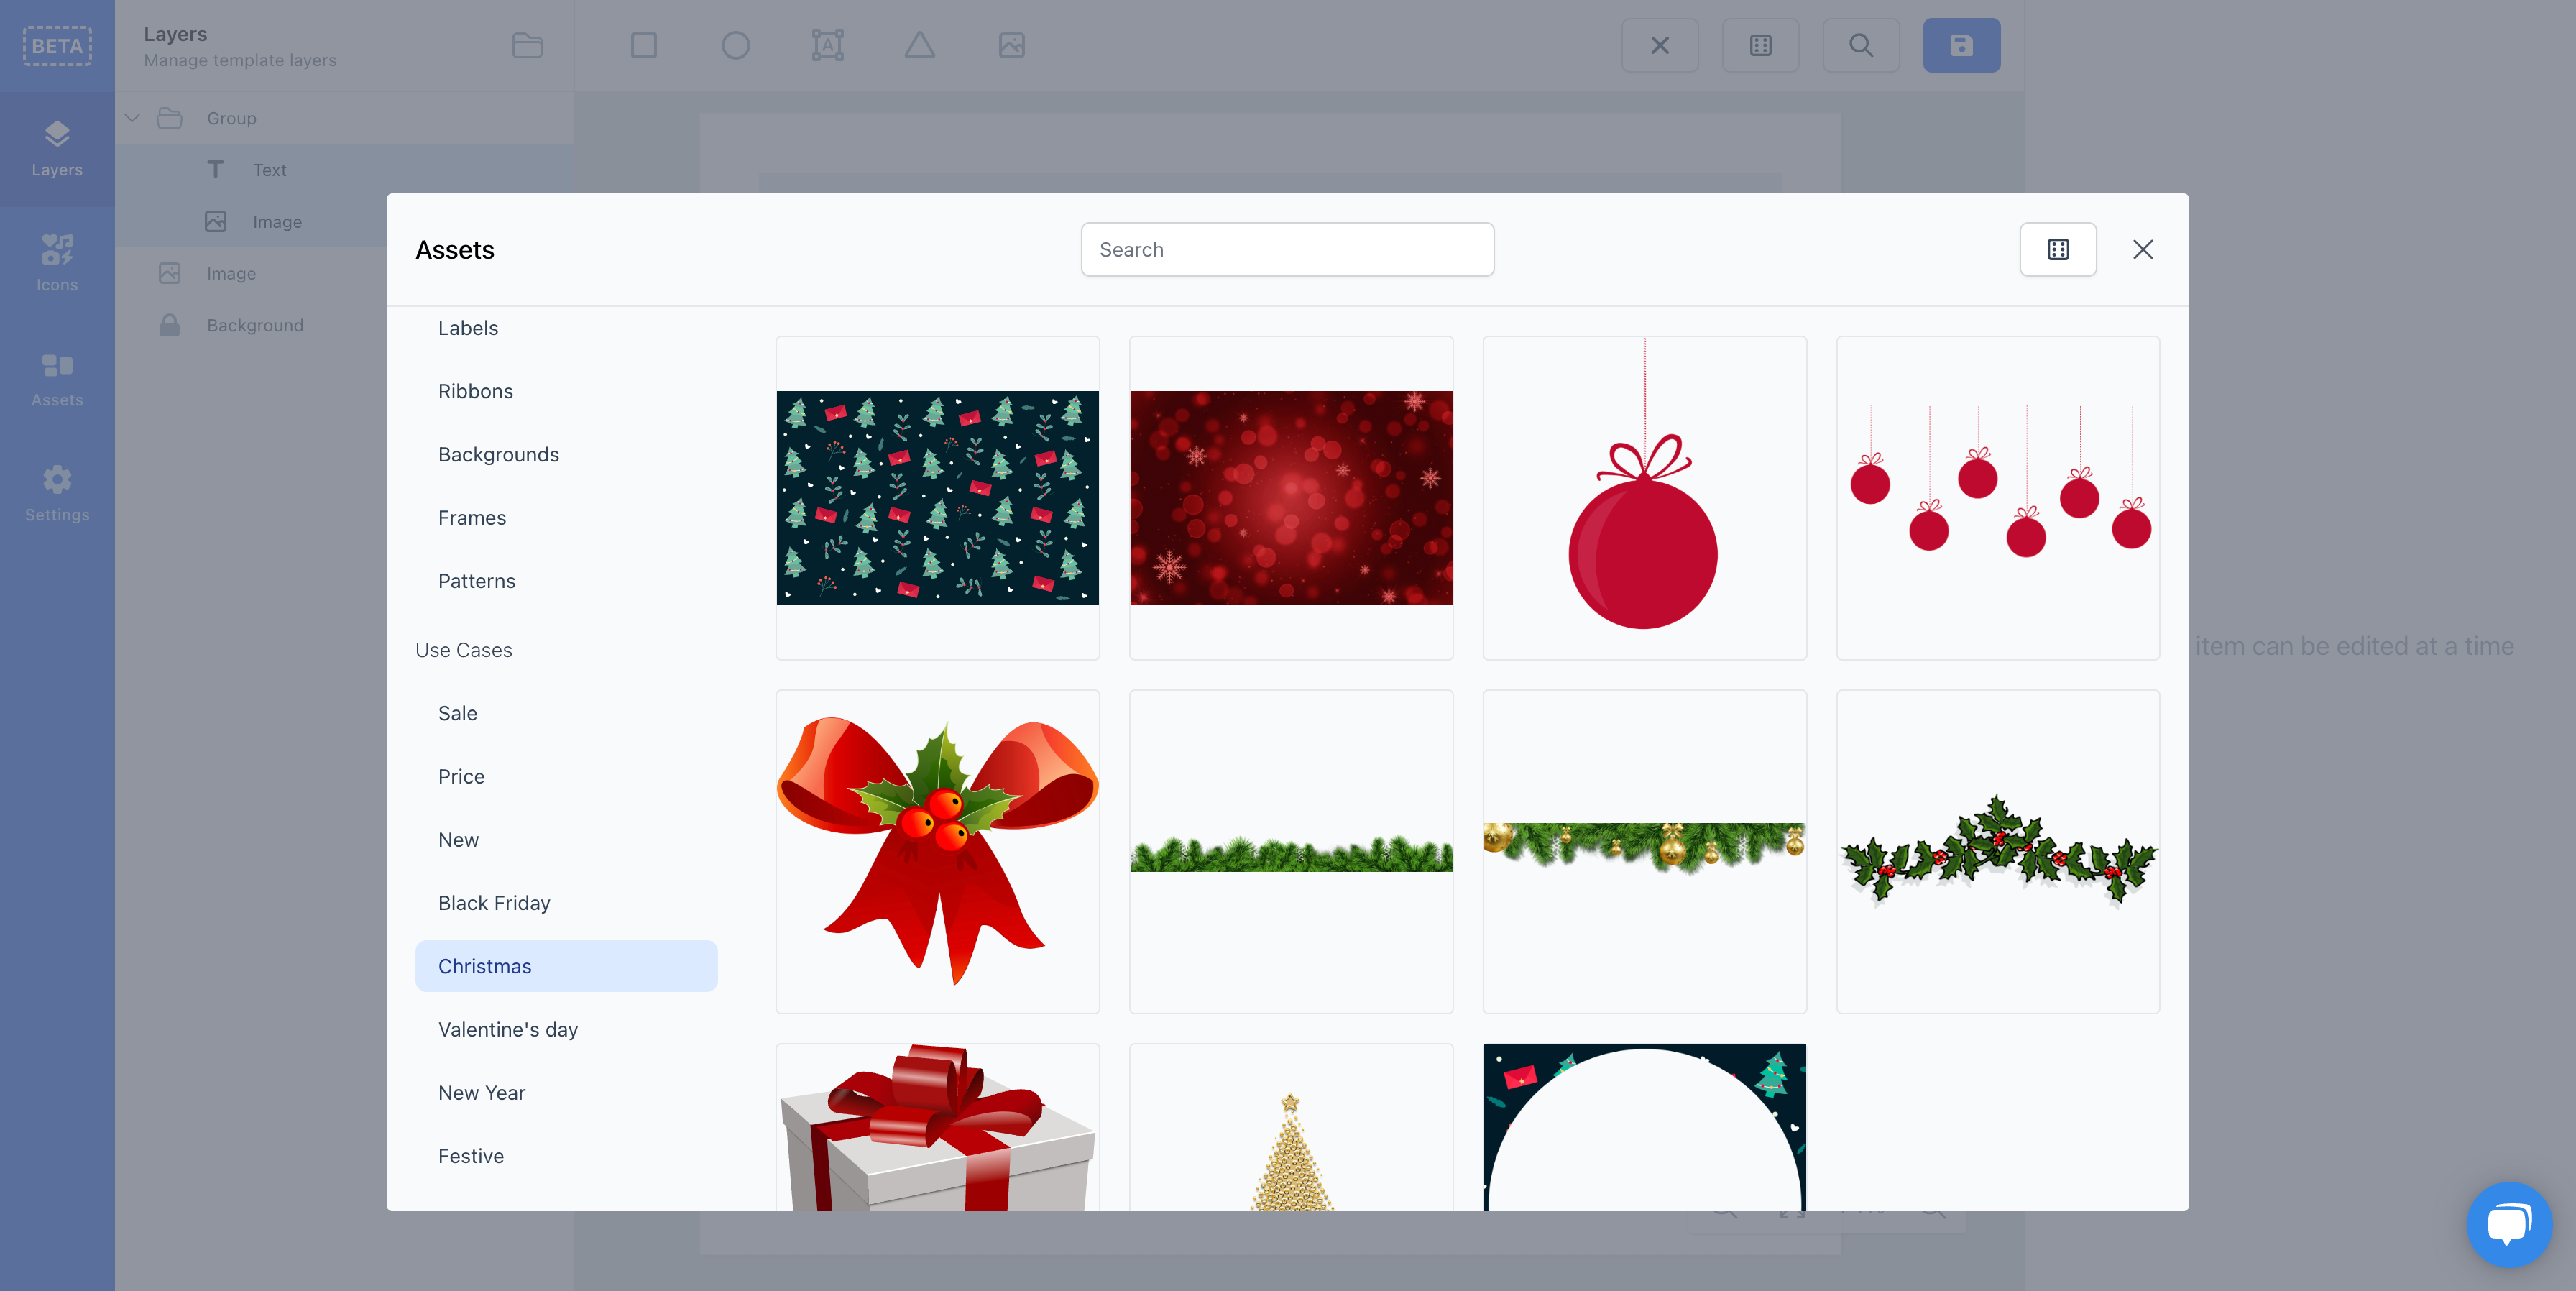
Use Cases are more specific. They, as their name suggests, are tailored to a specific use case. This could be Black Friday or Christmas. Under Christmas for instance, you can find ornaments and other graphics that could fit with your christmas campaign.
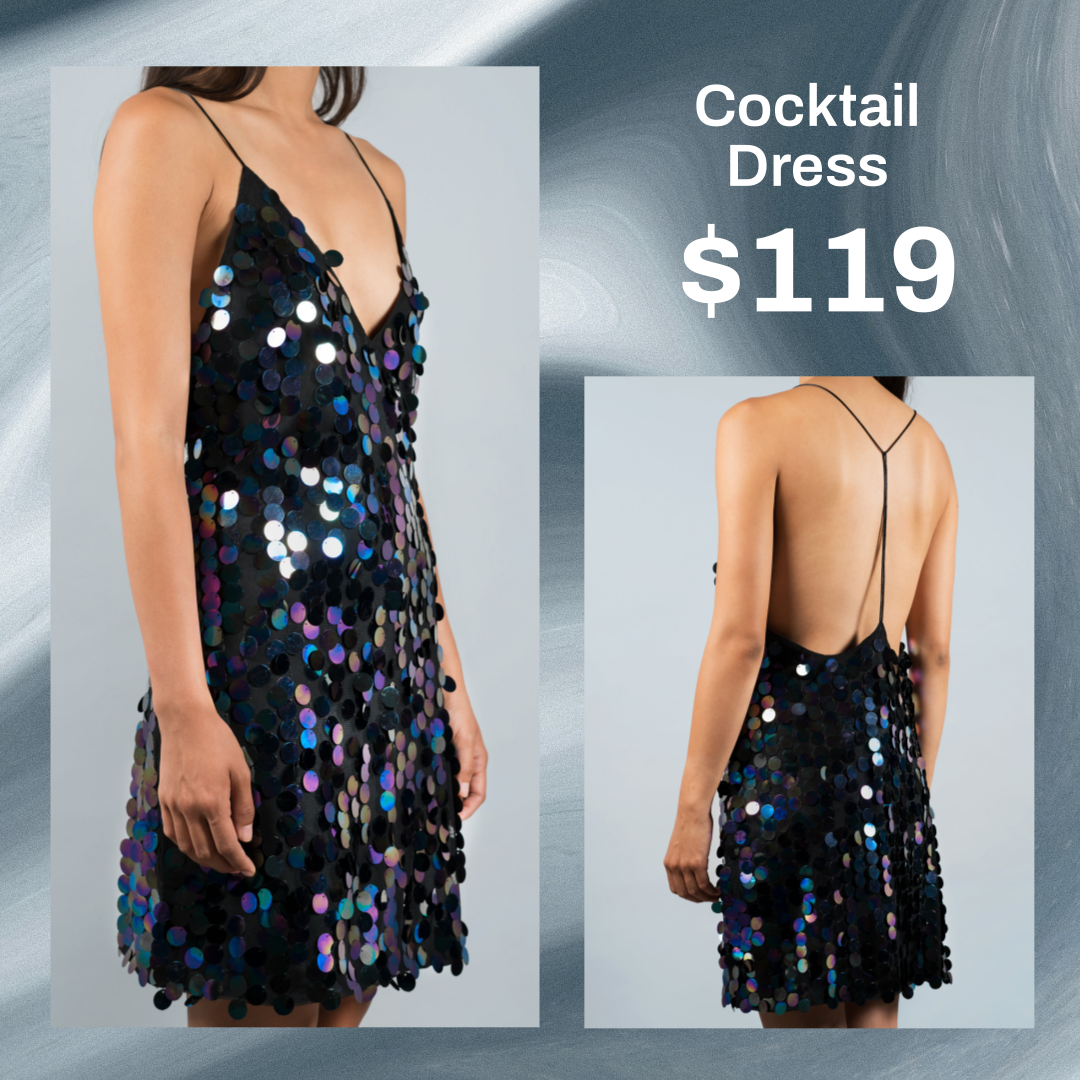
Multiple Images in One Template
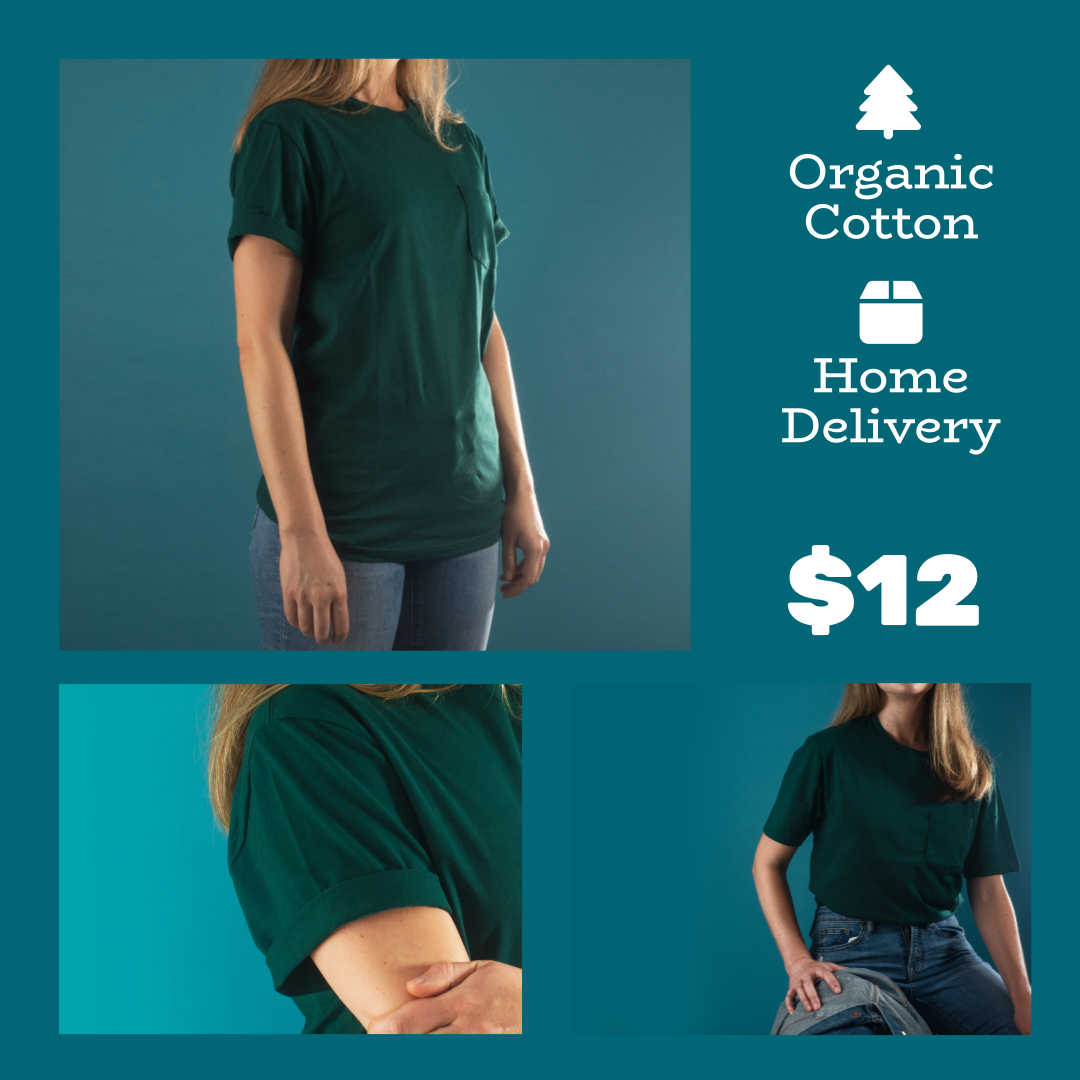
Dynamic Product Ads is all about presenting your products the best possible way. Sometimes the best way to do that is by having different pictures of your product. For clothes it could be different angles or the clothes seen on a model instead of by it self. It could also be that you're selling furniture and have a close up of the fabric or wood pattern. All this is now possible in the editor.
When you have selected an image in the editor, you now have the option of selecting which image of the product that should be filled in. You'll also see that have to specify a missing strategy. This is used in the scenario that you have chosen a picture that doesn't exist for the product we're displaying. This would happen if you have picked the 3rd image and the product only has 2 images. For this you have these two options:
Hide - If the desired image is not available the image is simply hidden. Nothing will be rendered in its place.
First Image - This option simple takes the first product image (which is always present) and uses this a placeholder for the missing image.
Normally when doing templates, it is applied to every image the product has. Depending on the sales channel the first image is usually included as the <image_link/> tag. The additional images are then included in several <additional_image_link/> tags. All the product images will contain the transformation.
<image_link>
  https://images.feedr.com/1/1/1/a/abc
</image_link>
<additional_image_link>
  https://images.feedr.com/1/1/1/b/abc
</additional_image_link>
<additional_image_link>
  https://images.feedr.com/1/1/1/c/abc
</additional_image_link>
When using multiple images this behavior is changed. Now only the primary image contain the transformation (which would then include 2 or more of the other images). The <additional_image_link/> has all the original images (including the primary image), so they can be viewed if the sales channel supports it.
<image_link>
  https://images.feedr.com/1/1/1/a/abc
</image_link>
<additional_image_link>
  https://webshop.com/image1.jpeg
</additional_image_link>
<additional_image_link>
  https://webshop.com/image2.jpeg
</additional_image_link>
<additional_image_link>
  https://webshop.com/image3.jpeg
</additional_image_link>
This new feature opens up for you to make templates looking like this:
Custom Fonts
This feature has been highly requested. By default the editor includes most of the Google Fonts for you to choose from. However sometimes you want to use custom font. This could be the font that you use on your website or other places in your branding. Naturally you want also want that font to be present in your dynamic product ads.
While doing this feature we also decided to give the font selection an UI overhaul. Previously we would show all the variations of a font. In practice this made it difficult to choose between different fonts since the view was cluttered with the same font in different weights and styles.
Now we only show every font once and you have the ability to choose what weight and style you want, then only fonts which have those attributes shows up.
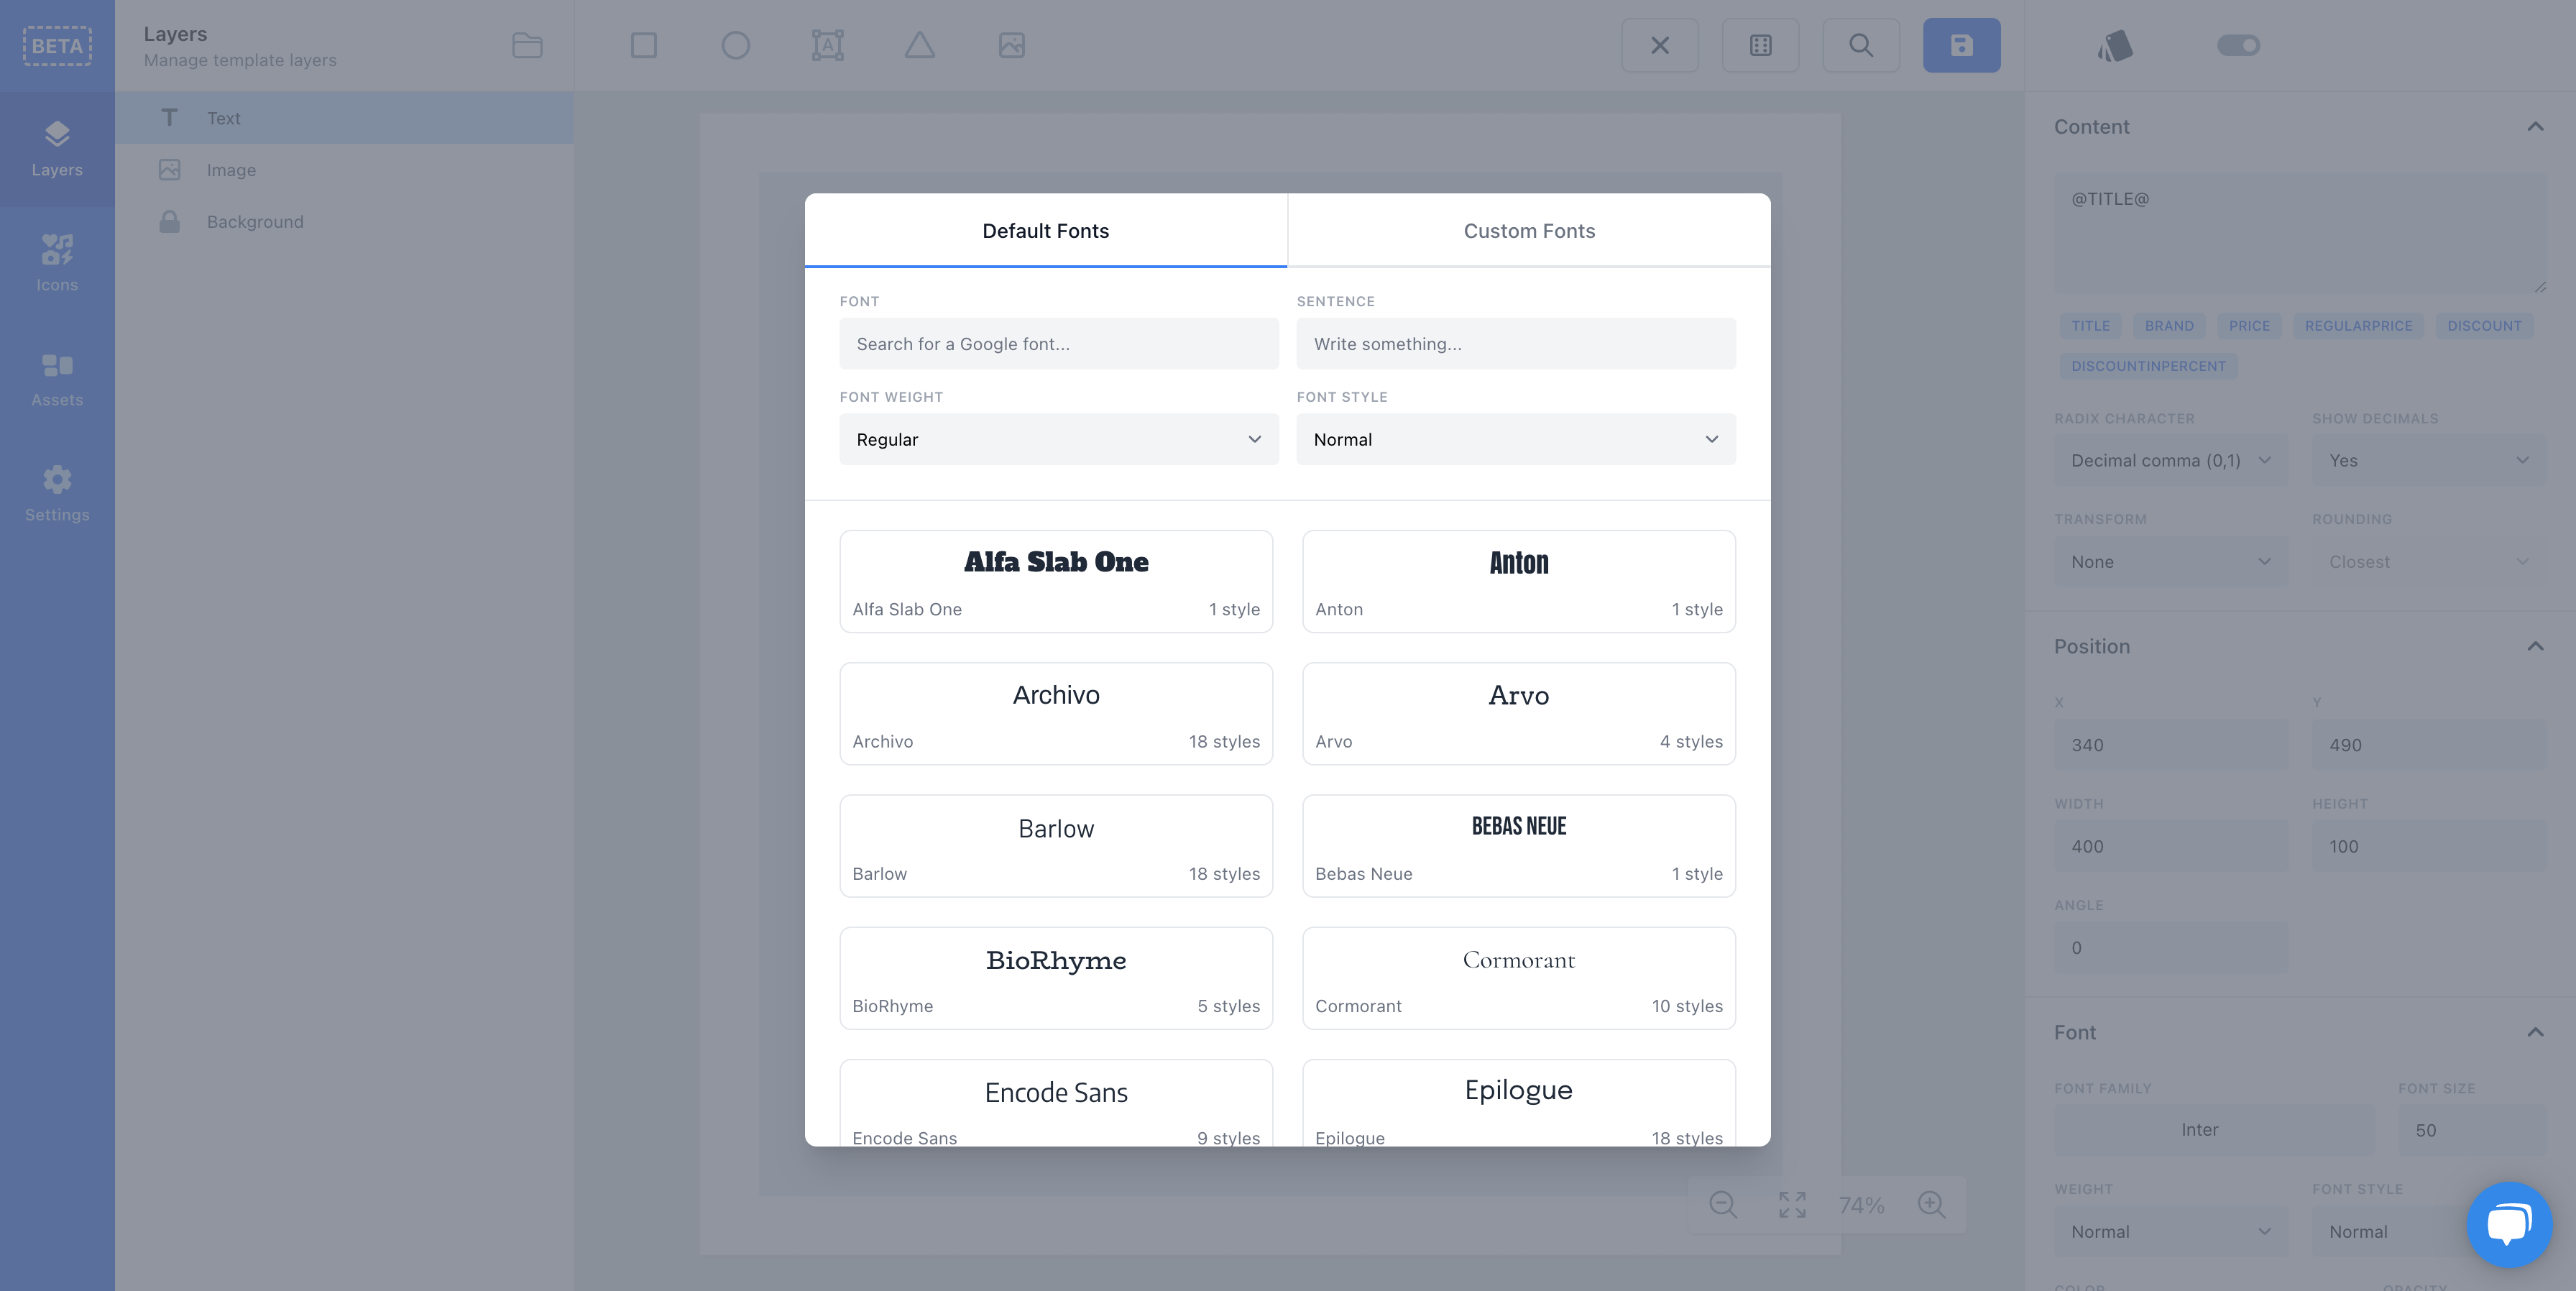
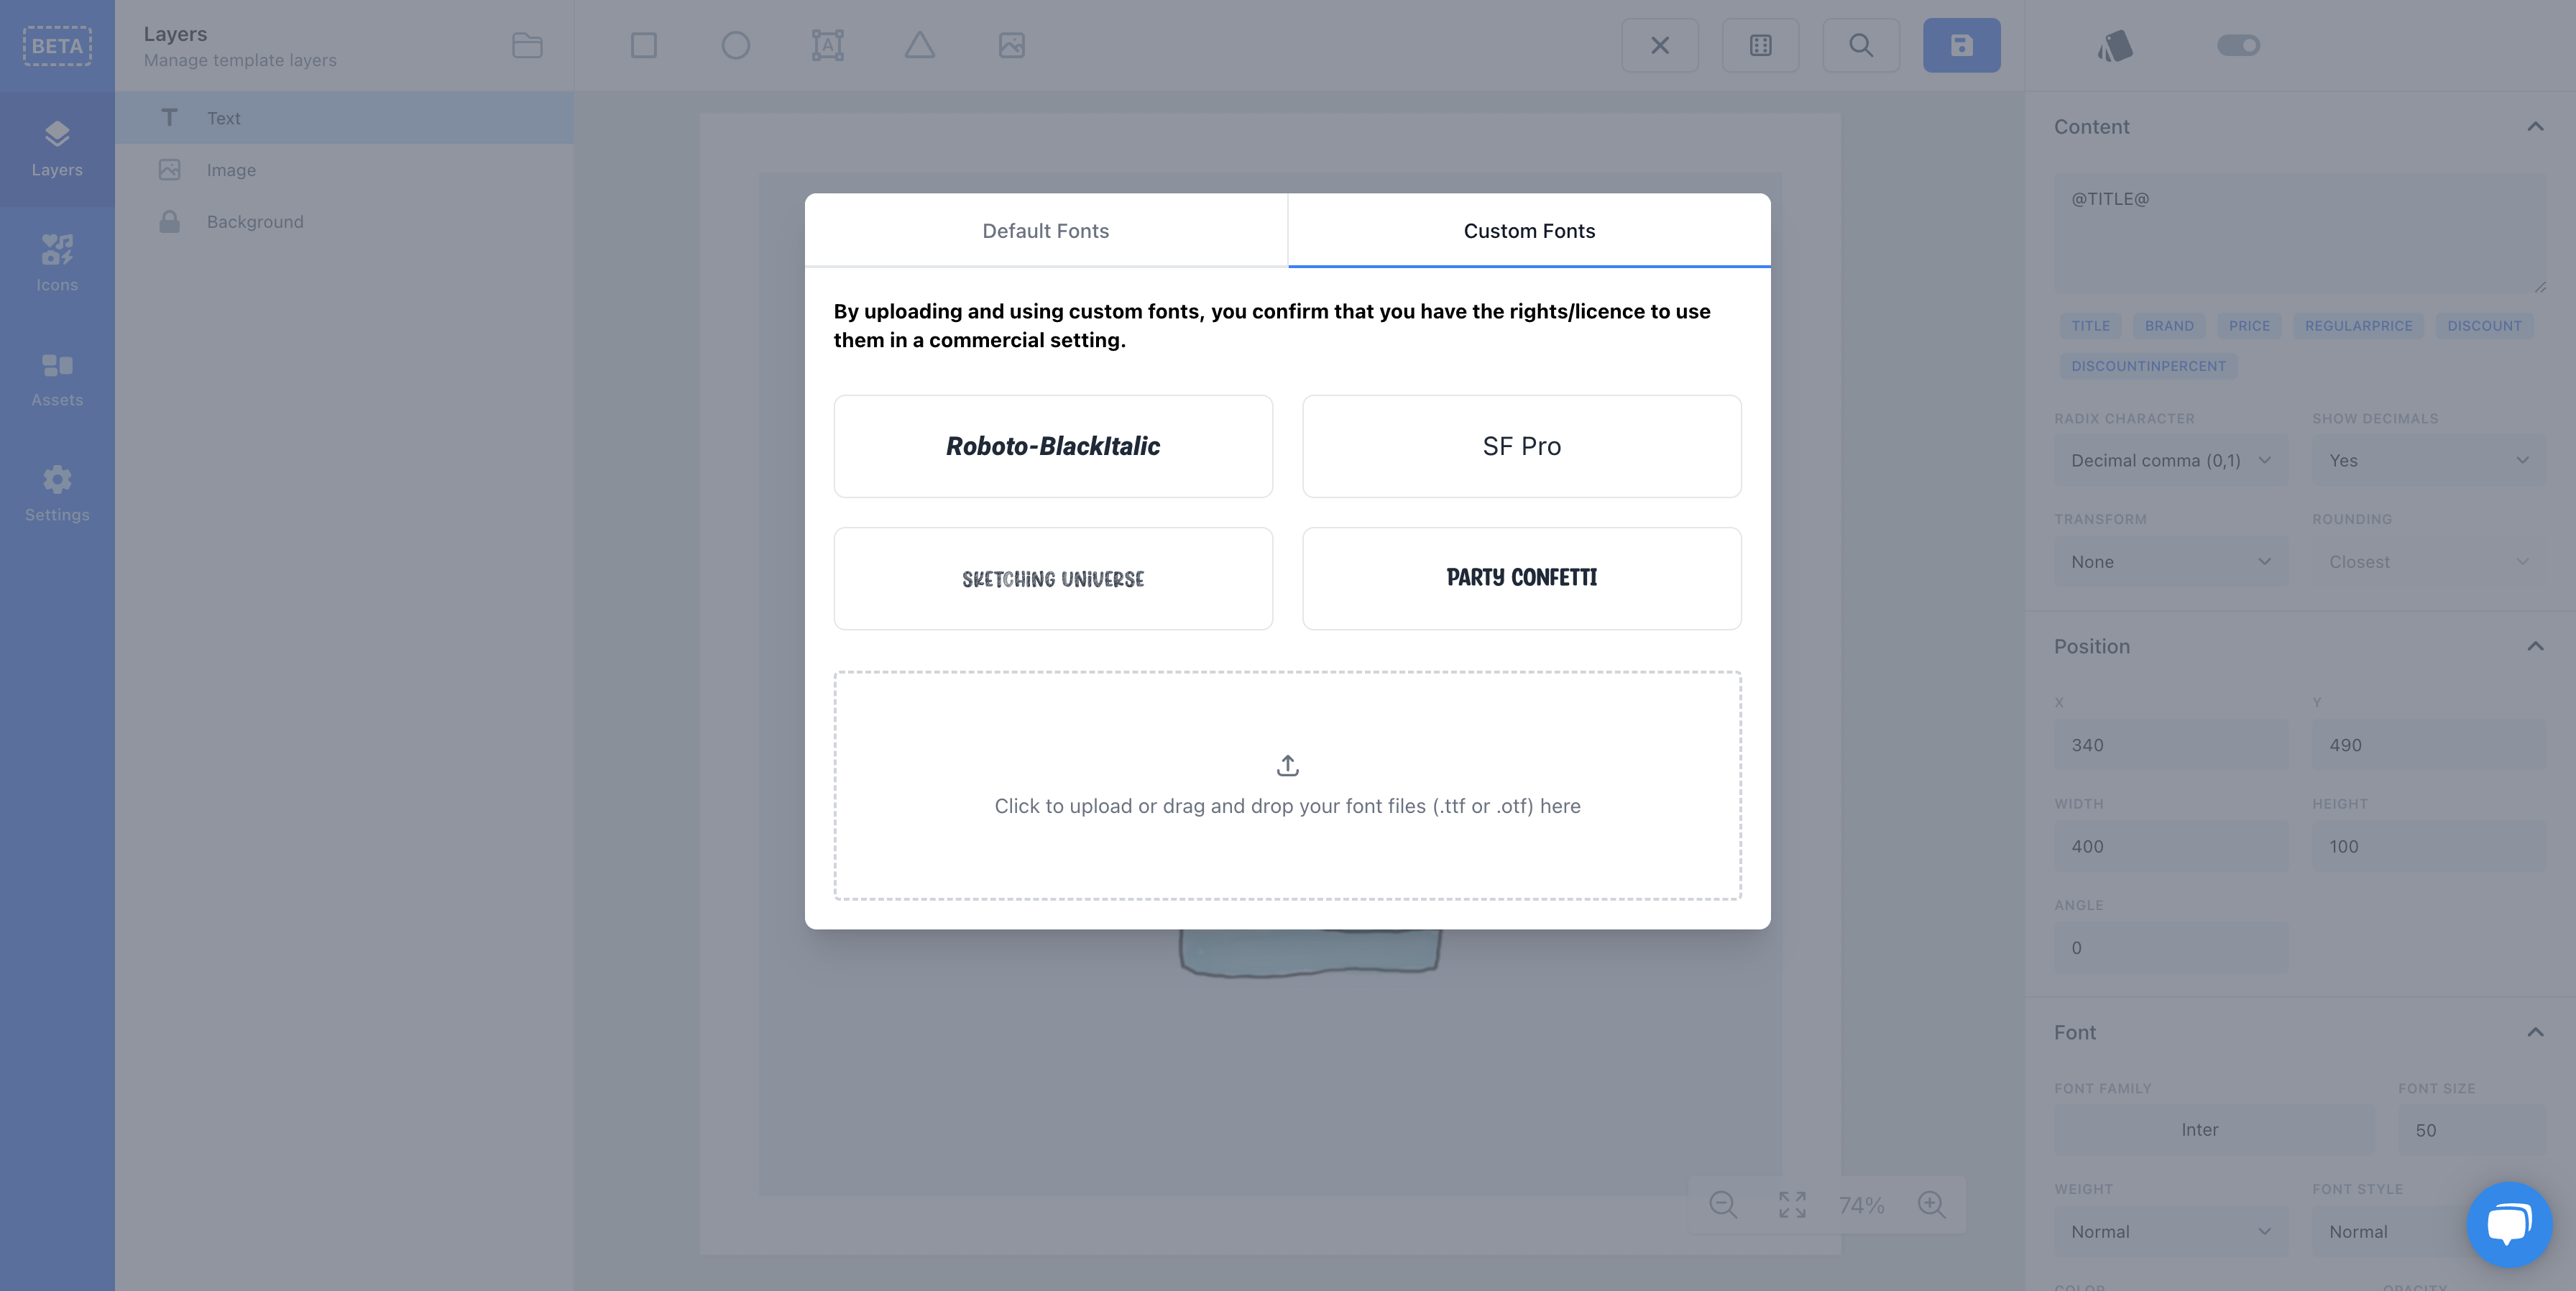
Next to the default fonts there is a tab Custom Fonts. There you can see all the fonts that has been uploaded within a team, so you can reuse it across different templates. To upload your font simply drag it into the square or click it. After it has been uploaded it will show up and can be picked for your template.
That's all we have for now, we hope you like it and we look forward to see what you can do with it! 😀